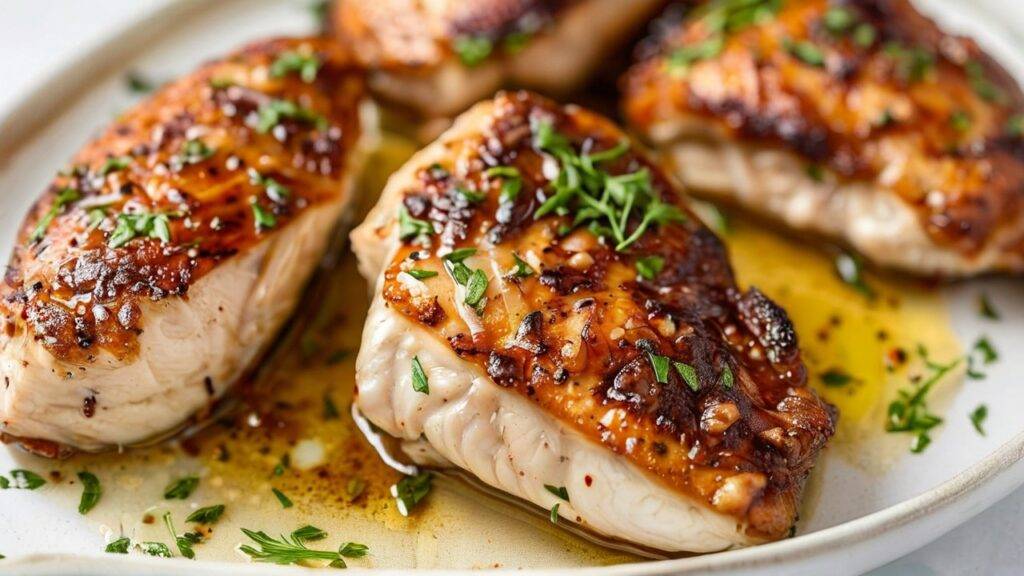
Chicken Breast Brine Recipe
Chicken Breast Brine is the secret to achieving tender, juicy, and flavorful meat. Whether you’re grilling, baking, or pan-searing your chicken, this simple brine solution can elevate your chicken breasts from bland and dry to moist and delicious. In this detailed guide, you’ll find a step-by-step Chicken Breast Brine recipe, complete with tips, nutritional info, and answers to frequently asked questions. This recipe is perfect for both beginners and seasoned home cooks looking to enhance their chicken dishes.
Chicken Breast Brine Recipe

Ingredients:
For the Brine:
- 4 cups water (or enough to fully submerge the chicken breasts)
- ¼ cup kosher salt (or 3 tablespoons table salt)
- 2 tablespoons granulated sugar (optional, for added flavor)
- 1 tablespoon peppercorns (optional, for extra seasoning)
- 2-3 cloves garlic, smashed (optional)
- 1 sprig fresh rosemary or thyme (optional for added aroma)
- 4 boneless, skinless chicken breasts
Equipment: For Chicken Breast Brine
- Large bowl or container for brining
- Measuring cups and spoons
- Stirring spoon
- Plastic wrap (or lid to cover container)
- Tongs for removing chicken from the brine
- Paper towels for drying the chicken
How to Make Chicken Breast Brine
Detailed Instructions:
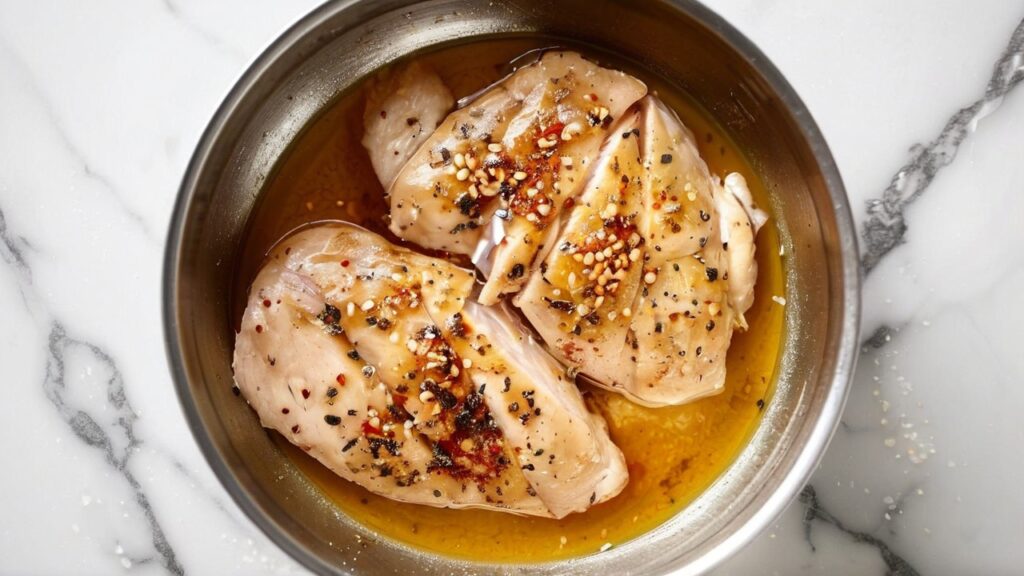
Step 1: Prepare the Brine Solution
In a large bowl or container, dissolve the kosher salt and sugar (if using) in 4 cups of water. Stir the mixture until both the salt and sugar are fully dissolved. This creates the base of your brine solution, which is essential for flavor and moisture retention in the chicken.
Pro Tip: Use warm water to dissolve the salt and sugar more easily, but make sure to cool the brine completely before adding the chicken to prevent cooking the meat prematurely.
Step 2: Add Aromatics (Optional)
For enhanced flavor, you can add aromatics like smashed garlic cloves, whole peppercorns, and fresh herbs such as rosemary or thyme. These ingredients infuse the chicken breasts with subtle flavors that make them more aromatic and complex. Stir the aromatics into the brine.
Step 3: Submerge the Chicken Breasts
Place the raw chicken breasts into the brine, ensuring that they are fully submerged. If necessary, add more water to cover the chicken completely. Cover the bowl or container with plastic wrap or a lid and refrigerate for at least 30 minutes. For a more intense flavor, you can brine the chicken for up to 2 hours.
Pro Tip: Do not exceed 2 hours of brining, as the chicken can become too salty and tough.
Step 4: Remove and Rinse the Chicken
After the brining period is complete, use tongs to remove the chicken breasts from the brine. Rinse the chicken thoroughly under cold water to remove excess salt, then pat them dry with paper towels. Properly drying the chicken ensures a nice sear if you’re grilling or pan-searing them later.
Step 5: Cook the Chicken
Your brined chicken breasts are now ready for cooking! You can grill, bake, or pan-sear the chicken depending on your preferred method. The brining process helps the chicken retain moisture, so no matter how you cook it, you’re guaranteed juicy results.
Recommended Cooking Times:
- Grill: Cook on medium heat for 6-8 minutes per side, depending on the thickness of the chicken.
- Bake: Preheat oven to 400°F (200°C) and bake for 20-25 minutes.
- Pan-Sear: Heat a skillet over medium-high heat and cook for 6-7 minutes on each side, until golden brown.
Recipe Variations for Chicken Breast Brine:

1. Citrus Herb Brine
Add a burst of freshness to your chicken by incorporating citrus fruits into the brine. Simply add the zest and juice of 1 lemon and 1 orange to the brine, along with a handful of fresh herbs like rosemary, thyme, or parsley. The citrus adds a bright, tangy flavor, while the herbs bring an earthy aroma. This variation is perfect for summer grilling!
Ingredients to Add:
- Zest and juice of 1 lemon
- Zest and juice of 1 orange
- 1 sprig of rosemary or thyme
Best Cooking Method: Grilling or baking
2. Spicy Southwest Brine
If you’re craving a little heat, the Spicy Southwest Brine is your go-to. Add chili powder, cumin, and crushed red pepper flakes to your basic brine to give the chicken breasts a spicy kick. You can also throw in some garlic and onion powder to enhance the flavors. This variation pairs perfectly with Mexican-inspired dishes, tacos, or fajitas.
Ingredients to Add:
- 1 tablespoon chili powder
- 1 teaspoon cumin
- 1 teaspoon crushed red pepper flakes
- 1 teaspoon garlic powder
- 1 teaspoon onion powder
Best Cooking Method: Grilling or pan-searing
3. Asian-Inspired Soy-Ginger Brine
For an Asian twist, replace some of the water in the brine with soy sauce. Add freshly grated ginger, garlic, and a splash of rice vinegar for a savory and slightly sweet flavor profile. This brine works wonderfully for stir-fries or chicken served over rice.
Ingredients to Add:
- ½ cup soy sauce (reduce the salt in the brine to 2 tablespoons)
- 1 tablespoon freshly grated ginger
- 2 cloves garlic, minced
- 1 tablespoon rice vinegar
Best Cooking Method: Grilling or stir-frying
4. Sweet and Smoky BBQ Brine
This variation infuses the chicken with the sweet and smoky flavors of BBQ. Add a tablespoon of smoked paprika and a couple of tablespoons of brown sugar to the brine for a deep, smoky sweetness. A little Worcestershire sauce or liquid smoke can also be added for extra smokiness. This brine pairs perfectly with BBQ chicken sandwiches or grilled chicken with a smoky sauce.
Ingredients to Add:
- 1 tablespoon smoked paprika
- 2 tablespoons brown sugar
- 1 teaspoon Worcestershire sauce or liquid smoke
Best Cooking Method: Grilling or smoking
5. Buttermilk Brine
A buttermilk brine is ideal for fried chicken lovers. Buttermilk tenderizes the chicken while also adding a creamy richness. Substitute 2 cups of water with 2 cups of buttermilk and add a tablespoon of hot sauce for a mild kick. This variation is perfect for making fried or oven-baked chicken.
Ingredients to Add:
- 2 cups buttermilk (substitute for 2 cups of water)
- 1 tablespoon hot sauce (optional for heat)
Best Cooking Method: Frying or oven-baking
6. Maple Dijon Brine
For a sweet and tangy brine, try adding pure maple syrup and Dijon mustard. The maple syrup adds a natural sweetness that pairs well with the tangy, sharp mustard flavor. This brine works well with roasted chicken breasts and gives a delicious caramelized exterior when cooked.
Ingredients to Add:
- 2 tablespoons pure maple syrup
- 1 tablespoon Dijon mustard
Best Cooking Method: Roasting or grilling
7. Mediterranean Brine
Infuse your chicken with the bold flavors of the Mediterranean by adding olive oil, lemon, garlic, and oregano to the brine. This brine is light, fragrant, and pairs wonderfully with grilled vegetables or a Greek salad.
Ingredients to Add:
- ¼ cup olive oil
- Zest and juice of 1 lemon
- 1 teaspoon dried oregano
- 2 cloves garlic, minced
Best Cooking Method: Grilling or roasting
8. Apple Cider Brine
For a fall-inspired twist, replace some of the water with apple cider. Add a cinnamon stick and a few cloves to the brine to create a sweet and aromatic flavor profile that pairs beautifully with roasted chicken.
Ingredients to Add:
- 1 cup apple cider (substitute for 1 cup of water)
- 1 cinnamon stick
- 3-4 whole cloves
Best Cooking Method: Roasting or baking
Conclusion:
These Chicken Breast Brine recipe variations allow you to customize your chicken to match any cuisine or flavor preference. From spicy and smoky to sweet and tangy, these brines not only add incredible flavor but also ensure your chicken remains juicy and tender. Experiment with different herbs, spices, and liquids to discover your favorite combination, and make every chicken dish a culinary masterpiece!
FAQs About Chicken Breast Brine:
1. Why should I brine chicken breasts?
Brining helps chicken breasts stay juicy and tender by allowing them to absorb extra moisture and seasoning. This prevents the chicken from drying out during cooking, especially for lean cuts like chicken breast that are prone to overcooking.
2. How long should I brine chicken breasts?
You can brine chicken breasts for as little as 30 minutes, but for maximum flavor and moisture retention, brine them for 1 to 2 hours. Avoid exceeding 2 hours, as this may result in overly salty chicken.
3. Can I use table salt instead of kosher salt?
Yes, but the measurements will differ. For every ¼ cup of kosher salt, substitute with 3 tablespoons of table salt. Kosher salt has larger crystals, so you need less table salt to achieve the same level of salinity.
4. What happens if I brine the chicken for too long?
If you leave chicken breasts in the brine for too long, they may become overly salty and mushy. It’s important to monitor the brining time to avoid these undesirable effects.
5. Do I need to rinse the chicken after brining?
Yes, it’s important to rinse the chicken breasts thoroughly to remove excess salt and prevent them from being too salty when cooked. Be sure to pat them dry after rinsing.
6. Can I freeze the chicken after brining?
Yes, you can freeze the chicken after brining, but be sure to rinse and pat it dry first. Then, store the chicken in an airtight freezer bag for up to 3 months. Thaw completely before cooking.
Notes: Chicken Breast Brine
- You can experiment with different flavors by adding citrus zest, crushed red pepper flakes, or bay leaves to the brine.
- Brining works well with other cuts of chicken like thighs or drumsticks. Adjust the brining time based on the size of the chicken pieces.
- Always brine in the refrigerator to prevent bacterial growth. Never leave chicken in brine at room temperature.
Nutritional Information Chicken Breast Brine (Per Serving of Brine):
- Calories: 25 kcal
- Fat: 0g
- Carbohydrates: 6g
- Protein: 0g
- Sodium: 1800mg (Note: Most sodium is rinsed off, so the actual sodium content in the chicken will be lower.)
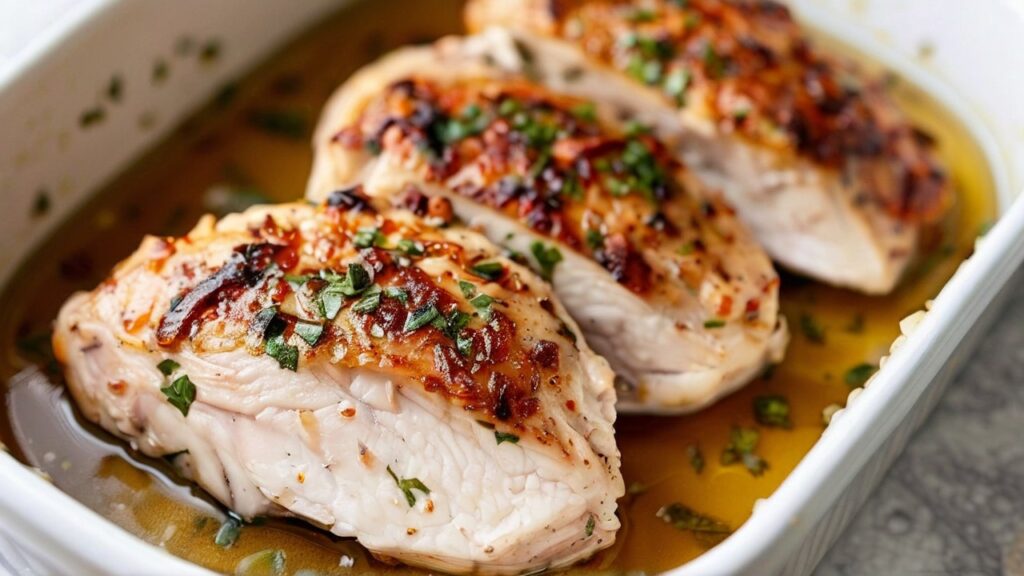
Conclusion: Chicken Breast Brine
Brining is an easy, game-changing technique that can take your chicken breasts to the next level. With this 5-step Chicken Breast Brine recipe, you’ll be able to create moist, tender, and flavorful chicken every time. Whether you’re preparing a weeknight dinner or grilling for a special occasion, this simple method ensures juicy chicken that’s full of flavor. Customize the brine to suit your taste and enjoy perfectly cooked chicken that’s never dry!
Try this recipe today and say goodbye to dry, bland chicken breasts for good!

5-Step Chicken Breast Brine Recipe for Juicy & Flavorful Chicken
Equipment
- Large bowl or container for brining
- Measuring cups and spoons
- Stirring spoon
- Plastic wrap (or lid to cover container)
- Tongs for removing chicken from the brine
- Paper towels for drying the chicken
Ingredients
- For the Brine:
- 4 cups water or enough to fully submerge the chicken breasts
- ¼ cup kosher salt or 3 tablespoons table salt
- 2 tablespoons granulated sugar optional, for added flavor
- 1 tablespoon peppercorns optional, for extra seasoning
- 2-3 cloves garlic smashed (optional)
- 1 sprig fresh rosemary or thyme optional for added aroma
- 4 boneless skinless chicken breasts
Instructions
- Step 1: Prepare the Brine Solution
- In a large bowl or container, dissolve the kosher salt and sugar (if using) in 4 cups of water. Stir the mixture until both the salt and sugar are fully dissolved. This creates the base of your brine solution, which is essential for flavor and moisture retention in the chicken.
- Pro Tip: Use warm water to dissolve the salt and sugar more easily, but make sure to cool the brine completely before adding the chicken to prevent cooking the meat prematurely.
- Step 2: Add Aromatics (Optional)
- For enhanced flavor, you can add aromatics like smashed garlic cloves, whole peppercorns, and fresh herbs such as rosemary or thyme. These ingredients infuse the chicken breasts with subtle flavors that make them more aromatic and complex. Stir the aromatics into the brine.
- Step 3: Submerge the Chicken Breasts
- Place the raw chicken breasts into the brine, ensuring that they are fully submerged. If necessary, add more water to cover the chicken completely. Cover the bowl or container with plastic wrap or a lid and refrigerate for at least 30 minutes. For a more intense flavor, you can brine the chicken for up to 2 hours.
- Pro Tip: Do not exceed 2 hours of brining, as the chicken can become too salty and tough.
- Step 4: Remove and Rinse the Chicken
- After the brining period is complete, use tongs to remove the chicken breasts from the brine. Rinse the chicken thoroughly under cold water to remove excess salt, then pat them dry with paper towels. Properly drying the chicken ensures a nice sear if you’re grilling or pan-searing them later.
- Step 5: Cook the Chicken
- Your brined chicken breasts are now ready for cooking! You can grill, bake, or pan-sear the chicken depending on your preferred method. The brining process helps the chicken retain moisture, so no matter how you cook it, you’re guaranteed juicy results.

